Color Swatches
How to setup your color swatches
How to setup your color swatches
Creating a swatch is a way for the user to fully customize the look and feel of the website, while adding his personal touch with ease. Do not hesitate to create as many swatches as you can and play around with them,
until you reach the desirable effect. The Swatches menu option on the left is where you add swatches. To add a new swatch, select the Swatches > Add New option from the left hand WordPress menu. When you create
a new swatch, you need to setup the swatch's colours.
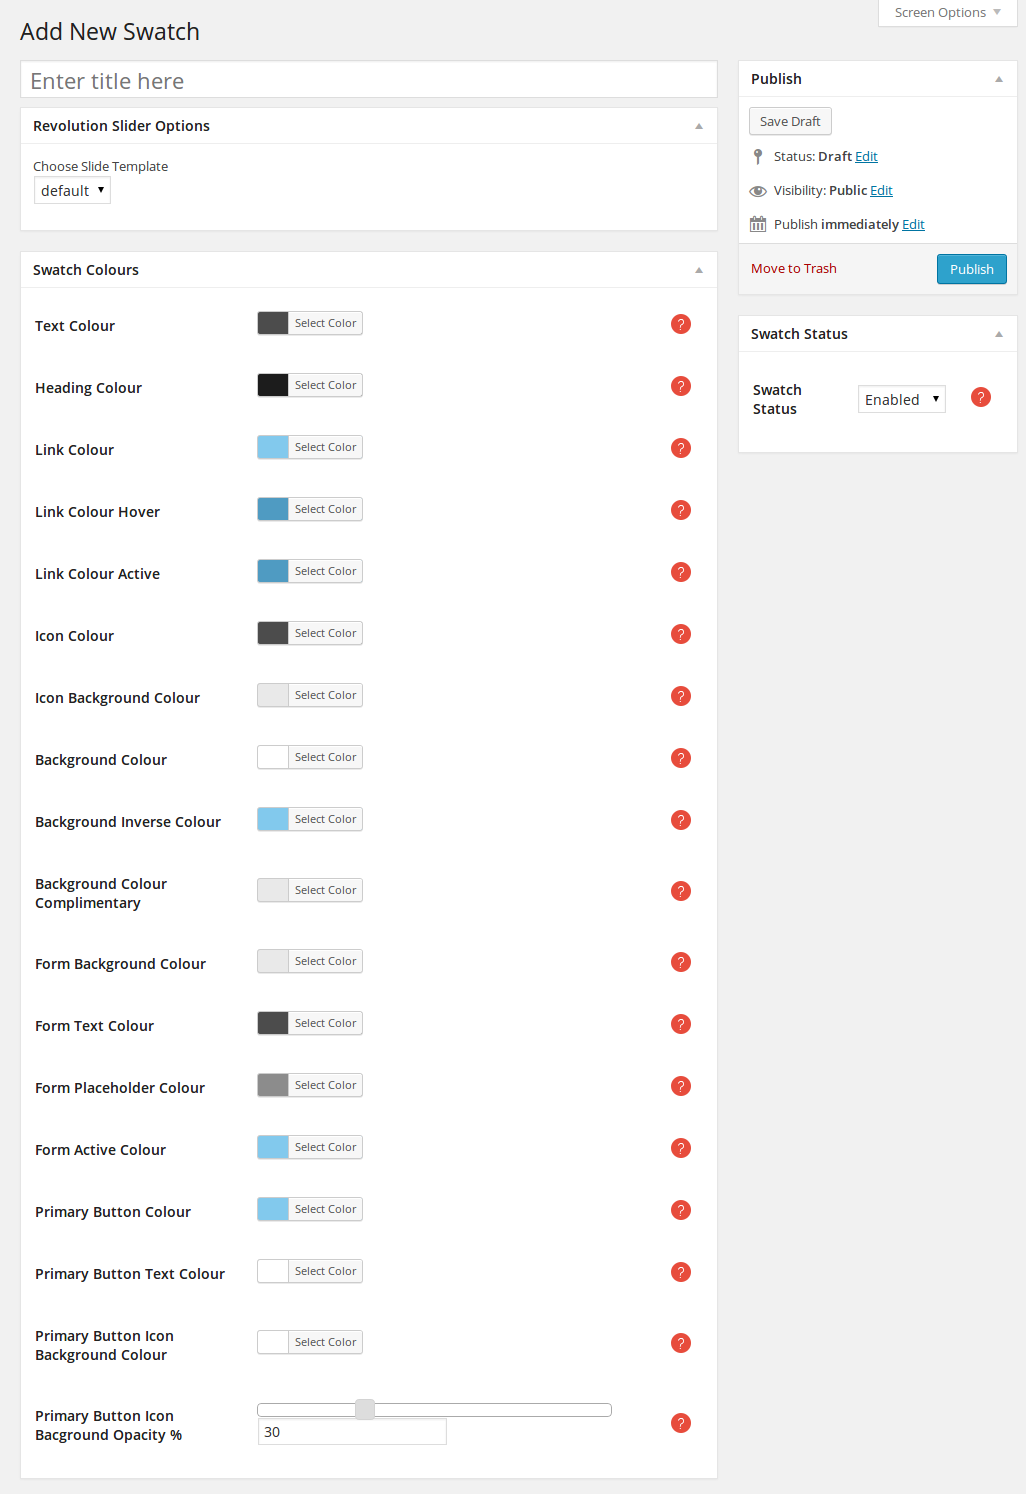
When you have set each component's color, one option that you have to set is the Primary Button Icon Background Opacity %.
Now click on the Swatch Status option on the right side of the page, to enable the swatch. All enabled swatches are now ready to be applied to the frontend of your theme. All you have to do is choose them from the swatch options that appear throughout the theme option panels.
Omega comes with a ready made set of default swatches. You can view all these swatces in the Swathes menu.
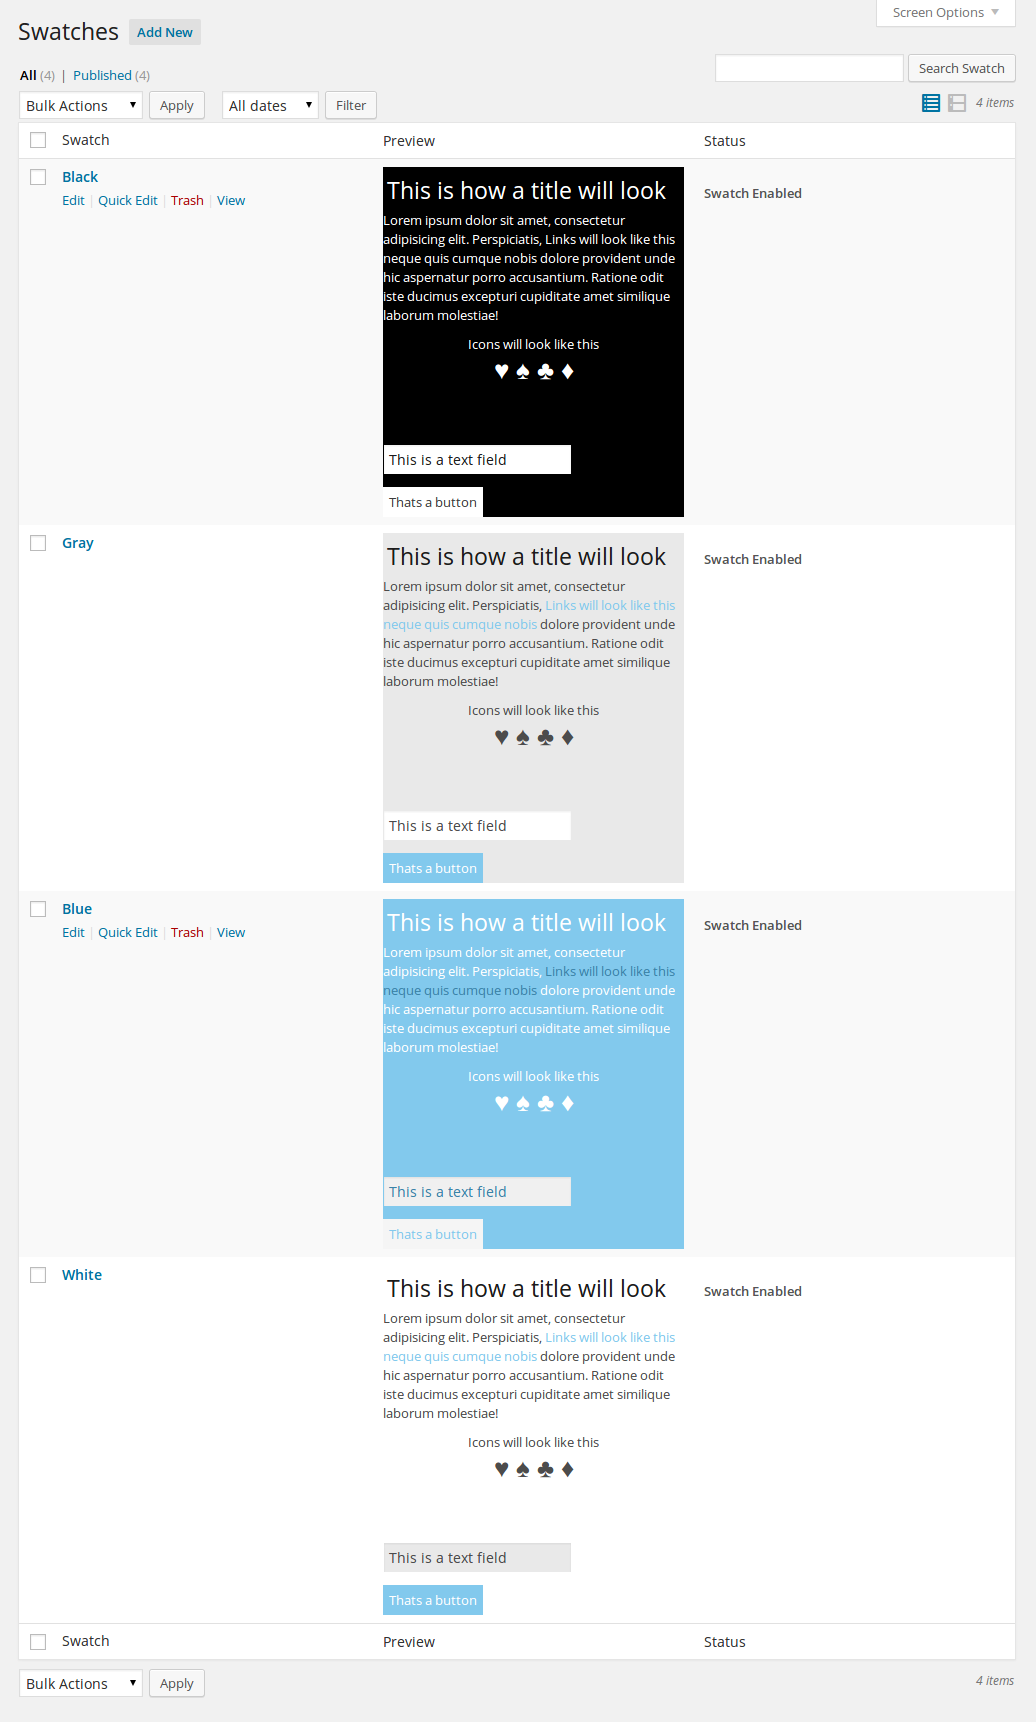
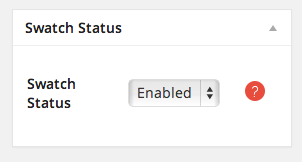
For each one you can see a preview of how it will look. You can edit, add new or delete existing swatches from the list. In order to use a color swatch you need to enable it. To do so, click on the swatch and select enable in the Swatch status box.
In case you need to restore the original swatches in your wordpress panel click on Omega<Colours and click on the install defaults button

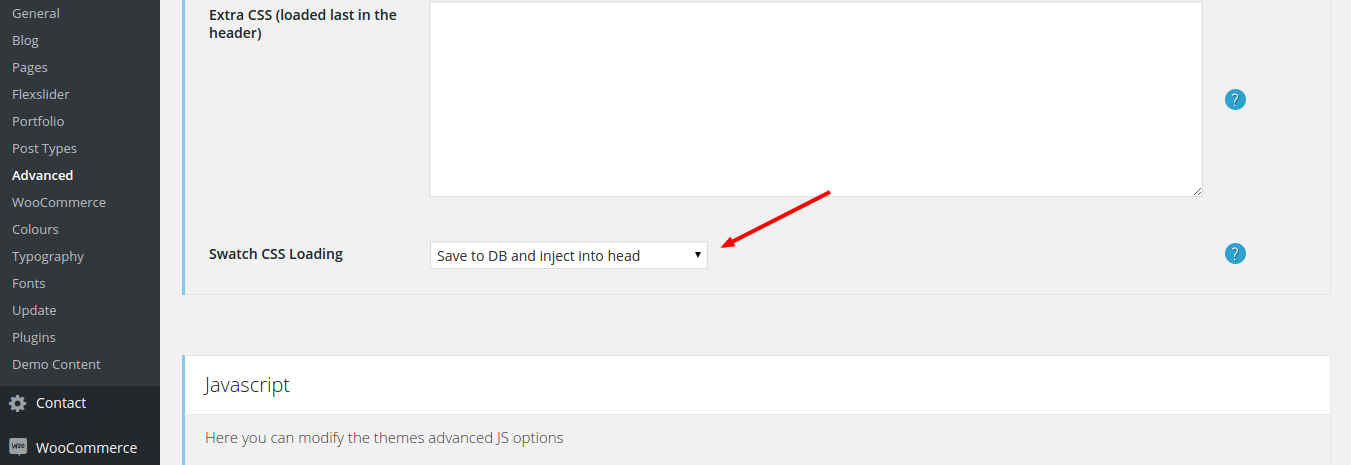
The loading of the Swatches' CSS can be set from Omega->Advanced, from the Swatch CSS Loading option. It defines where the dynamic swatch css that is created by your swatch options is saved. If you are using a lot of swatches it is recommended to save them to a file. If you dont have access to the filesystem you can save them in the database and inject them into the head.
If you have your swatches set to save to a file and they are not loading, this is probably because the theme cannot write to the themes/omega/assets/css folder. This folder holds the css that Omega needs to run. You need to set your permissions so that it is always writable, so that every time you save your Color Swatches, you can write on the respective files inside that folder.
Permissions can be very important when it comes to hosting your website. Permissions can allow the server computer to write and edit your files. Along with that, some files need to be protected from writing and editing, as a security measure. You can change your file permissions in many ways.
At this point, all you need to know is that your files should always have permissions of 644 or 755. (For most files, it doesn't matter if you give the executable permission or not. You won't see any difference.)
However, folders must always be 755.
One more rule. Any files inside the cgi-bin folder must have 755 permissions.
One of the easy and basic ways to change the permissions is through File manager in cPanel. To change the permissions for a file or folder in cpanel, please do the following:
Connect to FTP. Go to the file and right click. Choose Permissions or Attributes or Properties (depends on your program).
This can be done with chmod command.